 Help Center
Calendars & Appointments
Calendars & Appointments
Appointment List View
Use the Appointment List view to review appointments in a sortable, paginated table. You can search appointments, combine filters, preview recent contact activity, and export the filtered results to CSV.
Open the Appointment List
- Open Appointments from the left navigation, or open a calendar manage page.
- Find the Calendar and List icons in the header, near the Type, Category, and Source filters.
- Select the List icon to open the appointment table.
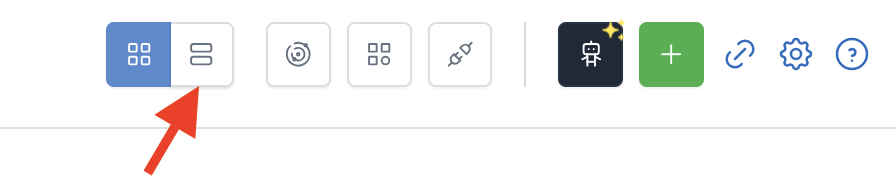
Select the Calendar icon to return to the calendar grid.
LeadCenter remembers your last selected view in the browser. Refreshing the page keeps the Calendar or List view you selected.
Review Appointment Information
Each row represents one appointment. The table includes the following columns:
| Column | What It Shows |
|---|---|
| Date & time | The scheduled start in your timezone. This column is sortable. |
| Subject | The appointment title and a recurring indicator when applicable. This column is sortable. |
| Category | The appointment category. This column is sortable. |
| Contact | The linked contact. Select the contact's name to open the contact preview. |
| Peek | Eye icons that let you preview recent contact activity. Hover over an icon to review the available information. |
| Guests | External guest names or email addresses. A +N indicator may appear when additional guests are included. |
| Host | The host assigned to the appointment. |
| Attendees | Other company calendars included on the appointment. A +N indicator may appear for additional attendees. |
| Type | The meeting type, such as Zoom or in person. |
| Status | The appointment status. This column is sortable. |
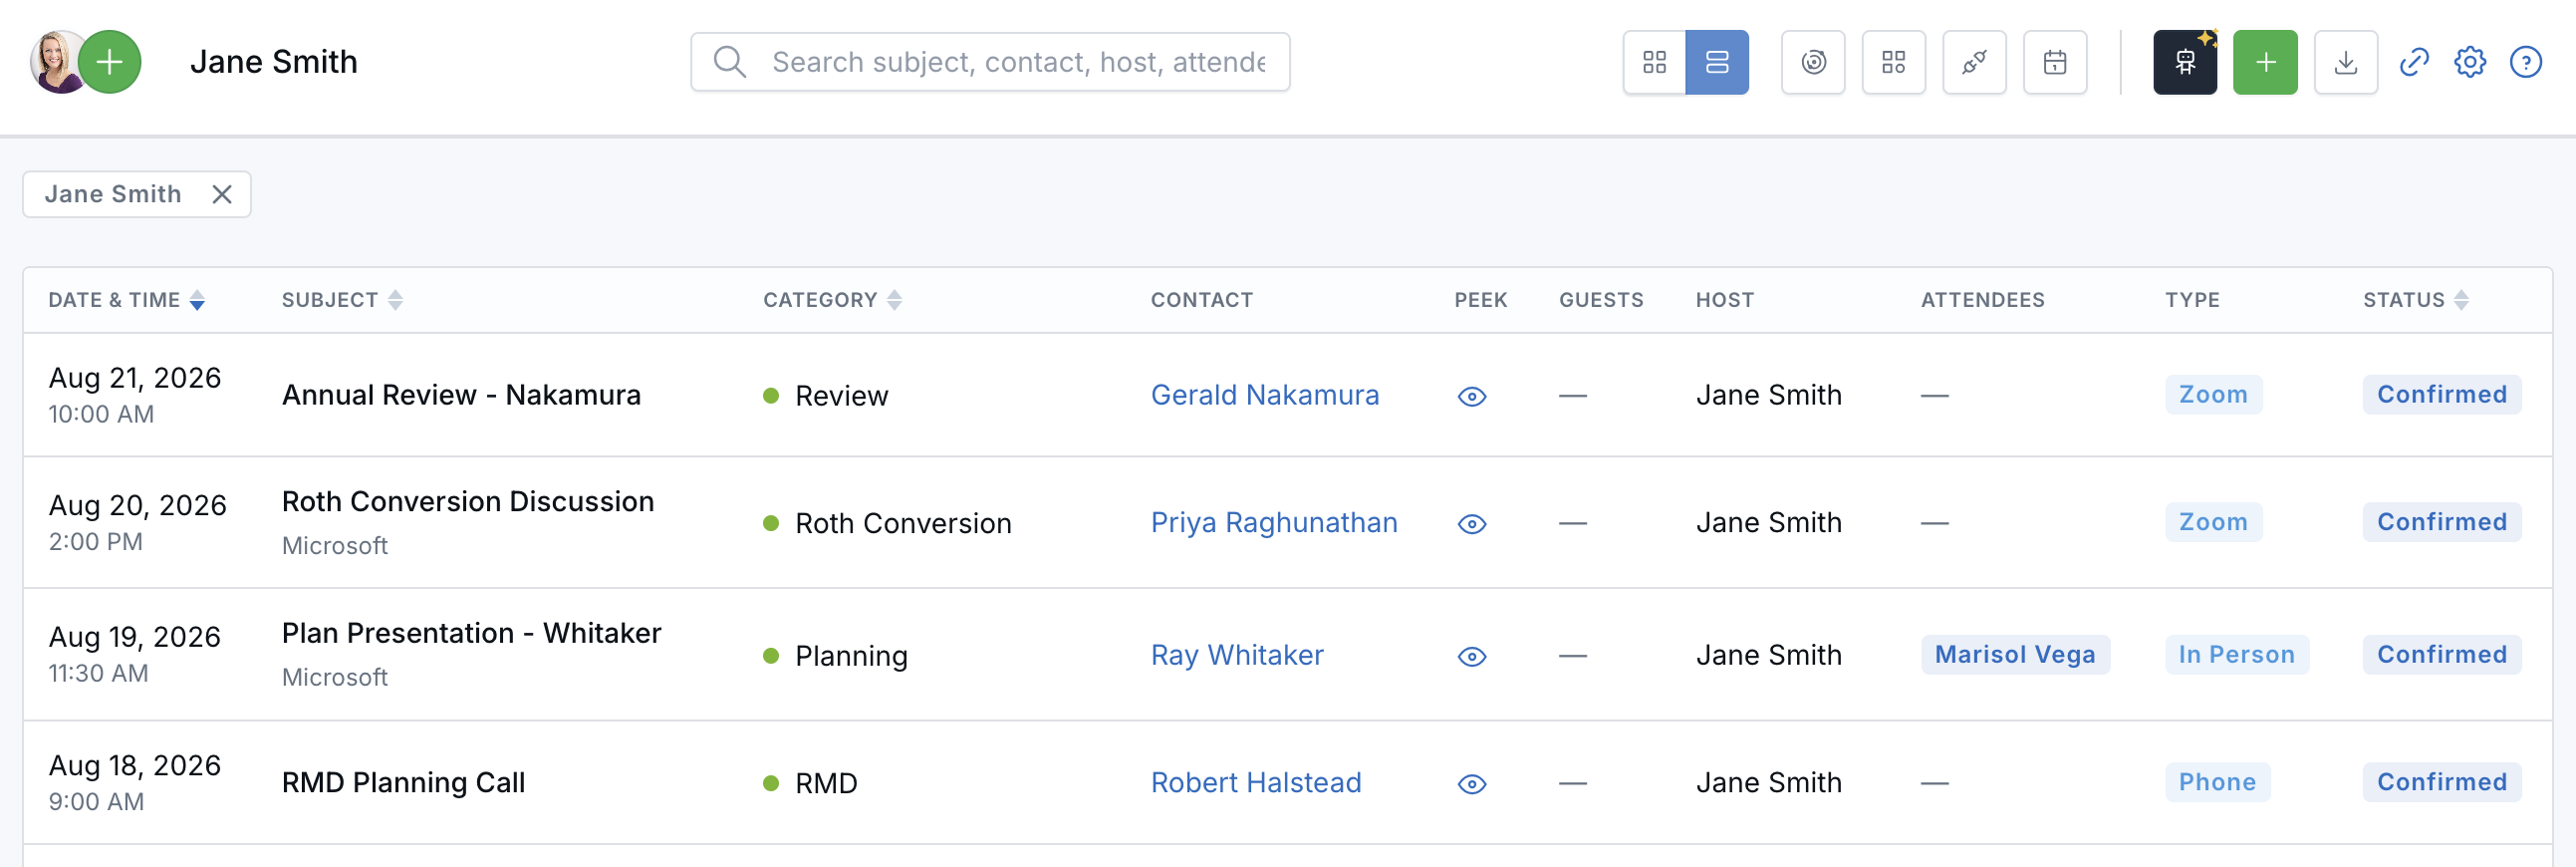
Select an appointment row or its subject to open the appointment details panel. Pagination controls appear at the bottom of the table when the results extend across multiple pages.
Search Appointments
In List view, use the search box in the header to find appointments by:
- Subject
- Contact
- Host
- Attendees
- Guests
- Related contact details, such as an email address or phone number
- Switch to List view.
- Enter your search. Results update after a short pause.
- Clear the search box to return to the full filtered list.
Search works together with the selected calendars and the Type, Category, Source, and date filters.
Filter Appointments
Type, Category, and Source filters are available in both Calendar and List views. The filters appear as icons in the header, and active selections appear as removable badges.
- Select the X on a badge to remove one filter.
- Select Clear all to remove all active filters.
- Combine Type, Category, and Source selections to narrow the results.
Hide Time Blocks
Open the Type filter and select Hide time blocks to remove time blocks while keeping appointments, internal meetings, synced events, Redtail entries, tasks, and other events visible.

Filter External Events
Select External event to show events synced from Google Calendar and Microsoft Outlook. Use it alone to see only synced events, or combine it with Appointment with contacts, Internal meeting, or Time block.
Type filters also apply to CSV downloads. Hidden time blocks are excluded from the file, while the External event selection includes or limits the export to synced events according to the other selected types. Filter selections remain active after a refresh or when the calendar is reopened from its saved URL.
Filter by Date
In List view, use the Filter Dates calendar icon to narrow appointments by date.
Available date ranges include:
- All Dates
- Yesterday
- Today
- Tomorrow
- This Week
- Previous Month
- This Month
- Next Month
- Next 30 Days
- Next 6 Months
- Custom Range — Select a start and end date in the pop-up, then select Apply.
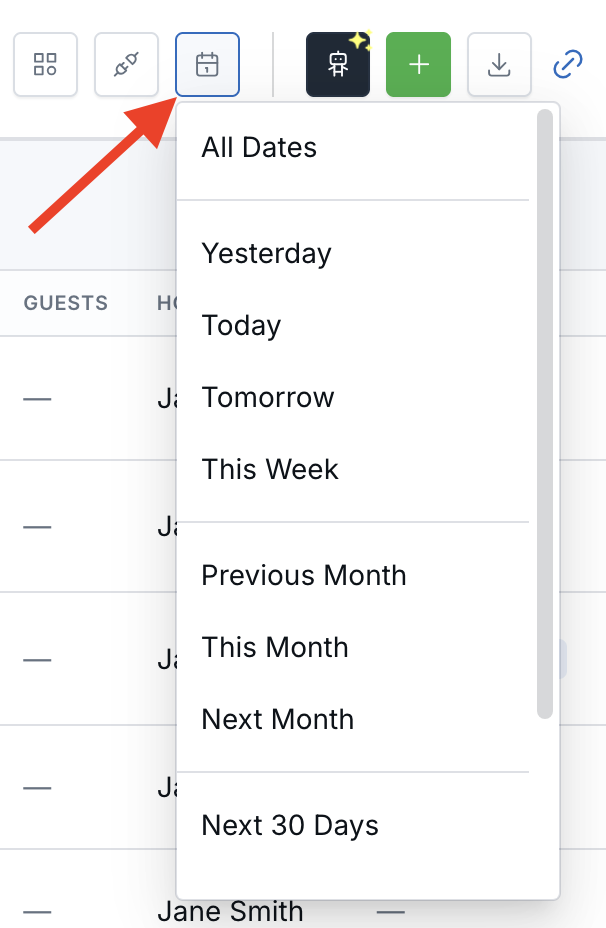
An active date range appears as a removable badge with the other filters. Select All Dates or remove the badge to clear the date filter.
Date filters apply only to List view. They do not change the dates displayed in the calendar grid.
Preview Contact Activity with Peek
When an appointment is linked to a contact, hover over the eye icons in the Peek column to preview recent contact activity without leaving the Appointments page.
For more information, see Use Contact Peek to View Recent Activity .
Download Appointments to CSV
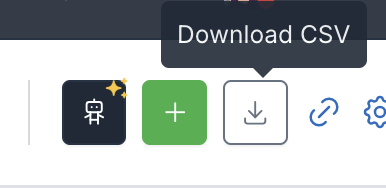
In List view, the Download icon appears immediately after the green create button.
- Select the calendars you want to include.
- Apply any search terms or filters.
- Select the Download icon.
- Wait for the confirmation message.
LeadCenter prepares a CSV using the current List-view selections. When the file is ready, you will receive an email containing a temporary download link. Large lists may take a few minutes to prepare.
The export includes appointment details such as date, subject, status, contact, guests, host, attendees, meeting type, category, and source.
Tips
- Select the team member calendars you want to include before reviewing the List view.
- Combine search, date, and Type filters to find a specific group of appointments.
- Use Contact Peek to review recent activity without opening the full contact record.
- Export the filtered results when you need appointment information for reporting or sharing.
Frequently Asked Questions
Why don't I see search or Filter Dates on the calendar?
Search, Filter Dates, Contact Peek, and CSV download are available in List view. The calendar grid uses its own day, week, and month navigation.
Do cancelled or no-show appointments appear in the list?
Cancelled and no-show appointments are hidden by default. Open the Type filter and include Cancelled or No show when you need to review them.
What happens when I select Download?
LeadCenter prepares the CSV and emails you a temporary download link. Large lists may take a few minutes to process.
Can I use Type and Category filters together?
Yes. Combining Type and Category narrows the results to appointments that match the selected filters.

Need more help?
If you can't find the answers you're looking for, our support specialists are available to answer your questions and troubleshoot if necessary.
-
Phone Call (888) 291-7116. Our main hours are Monday to Friday 7 am-5 pm Central Time.
-
Support Send your questions and inquiries via email to support@leadcenter.ai. A support ticket will be created and one of our team members will get back to you as quickly as possible.